Picture this: a beautiful camping site, the sun setting behind the trees, and you’re relaxing in a tent that feels like home. Sounds great, right? Tents with rooms and living areas are revolutionizing the camping experience, allowing folks to enjoy the great outdoors without sacrificing comfort. In this guide, we’ll explore everything you need to know about these spacious wonders, from their benefits to tips for choosing and setting one up. Get ready to elevate your camping adventures.
Understanding Tents With Rooms
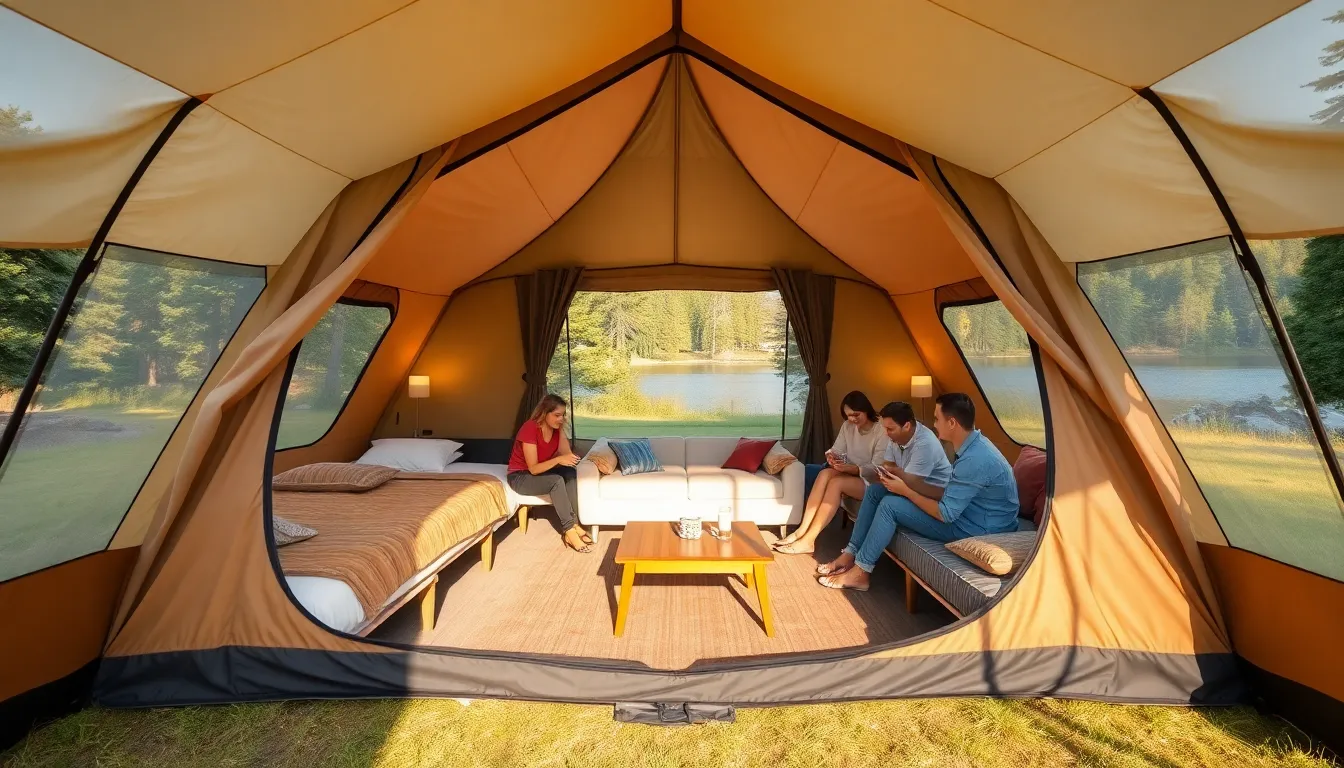
Tents with rooms are not your average camping gear. Instead of just a fabric shelter, they offer a layout that includes separate sleeping quarters, a common area, and sometimes even a kitchen nook. These tents take family and group camping to another level by providing much-needed space and privacy.
For instance, imagine a tent that not only houses your sleeping bags but also has a living room where your friends can gather to play cards, tell ghost stories, or simply sip coffee while it rains outside. This blend of indoor comfort and outdoor adventure creates a haven that appeals to casual campers and outdoor enthusiasts alike.
Benefits of Tents With Living Spaces
So, why would someone opt for a tent with rooms? The benefits are as numerous as the stars you’ll gaze upon at night. First, let’s talk about privacy. If you’re camping with a group or family, having separate sleeping zones means that early risers can enjoy their morning coffee without waking everyone else.
Next, think about comfort. With ample space, you’re less likely to trip over gear or get tangled in sleeping bags. And let’s not forget about weather protection: these tents usually come equipped with better insulation and rain protection than standard models. Whether faced with a summer storm or chilly nights, having a cozy living room can turn an uncomfortable situation into a relaxing retreat.
Choosing the Right Tent for Your Needs
Choosing a tent is key, and several factors come into play. Start by evaluating how many people will be using it. Is it just for you and a partner, or will the extended family tag along? Larger tents provide more room but can also be cumbersome to set up. Look for options that include distinct rooms for sleeping and a communal area to cater to everyone’s needs.
Features to Look For in Roomy Tents
- Ventilation: Airflow prevents condensation and keeps the interior comfortable. Look for tents with multiple windows and vents.
- Setup Ease: Some tents can be a royal pain to set up, especially after a long drive. Opt for designs that allow for easy assembly, perhaps with color-coded poles.
- Durability: Tents designed for different seasons are built using stronger materials and offer better weather resistance. Check the season rating to ensure it suits your camping plans.
Types of Tents With Separate Rooms
The market offers a variety of tent types catering to different preferences.
- Cabin Tents: These are spacious with vertical walls, making them feel like rooms. Great for family camping, they often include dividers for privacy.
- Dome Tents: Though usually compact, some dome tents now come with separate rooms. They are aerodynamic, which helps with stability in windy conditions.
- Multi-Room Tents: These provide separate rooms by design, enabling campers to enjoy spaces for sleeping, living, and even dining all under one roof.
Each type brings its flavor of convenience and comfort, allowing campers to choose based on their specific needs.
How to Set Up a Tent With Rooms
Setting up a tent with rooms doesn’t have to be a Herculean task. Here’s a step-by-step guide:
- Choose an Appropriate Location: Look for flat ground, avoiding rocky or wet areas. Shade is a bonus to keep the interior cool.
- Lay Out the Tent: Spread the tent fabric on the ground, ensuring all parts are accessible.
- Assemble the Poles: Follow instructions: most tents have color-coded poles that make this process a breeze.
- Insert the Poles: Once assembled, fit the poles into the designated pockets or sleeves. This creates the tent’s frame.
- Secure It: Stake the tent down to ensure it stays put, then attach any rainfly if needed.
- Organize the Interior: After setup, designate spaces for sleeping, storing gear, and your communal living area.